How to create Depth
Now we have clear understanding what depth really is and why we should apply it, how can we create it?
There are multiple ways to create a sence of depth in your signature, the most important two are:
* Having a light source
* Blurring the background so it looks further away.
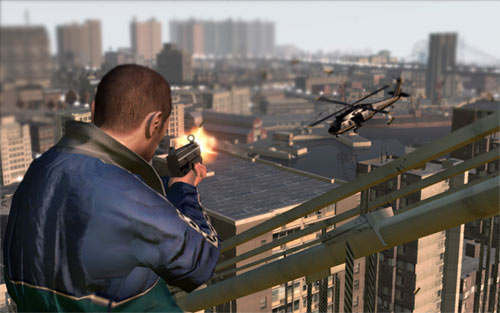
I will now explain these 2 further using the following stock from GTA4 as an example

Using blurring
To create a sense of depth we will blur the buildings in the distance, this way the buildings will look further away and your eyes will be drawn towards the action. For this I used the blur tool (you can find it under the paint bucket).
Using the following settings I blurred everything in the distance, but pay attention that you don’t blur anything you still want to be shown, like here for example the heli.
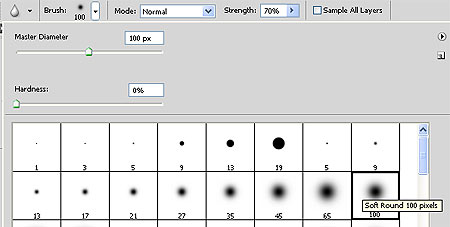
After this select the sharpen tool and use it to sharpen the most interesting parts in the picture (here the guy and the heli), you can use the same settings as before, just decrease the master diameter if you need more precision.
Here is how the picture now looks, notice how you now automatically start looking at the focal points!
Using light to create a sense of depth
To further enhance our sense of depth (and to make our focal point stand out more) we will use the Burn Tool and the Dodge Tool. You can use O to open these tools.
Once again I used a soft round brush with exposure on 60%, change the brush size to a size that fits your picture. I first used 100px for the big open areas and later a smaller 20px to burn/dodge the edges.
Use the Burn Tool to make the things in the background darker, use the dodge tool to make the objects in the foreground brighter and stand out more.
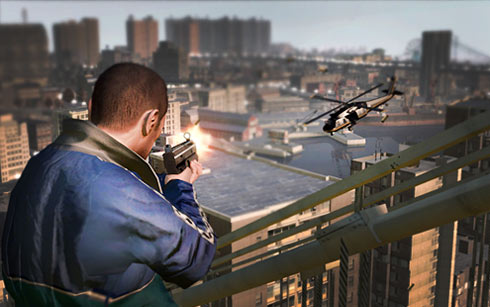
Here was my final result.
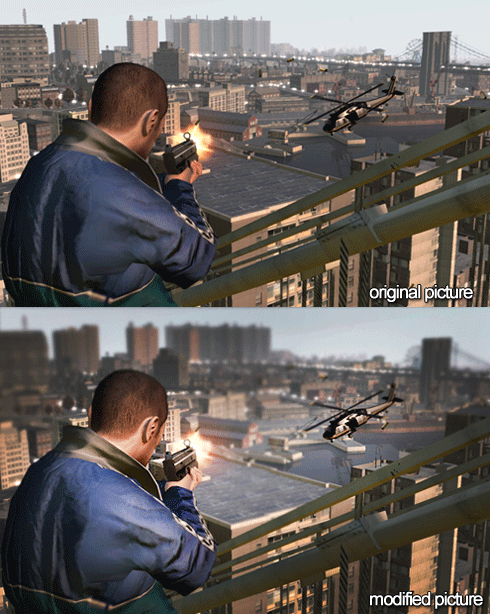
And here is a gif that shows the difference between the original and modified picture!

Now we have clear understanding what depth really is and why we should apply it, how can we create it?
There are multiple ways to create a sence of depth in your signature, the most important two are:
* Having a light source
* Blurring the background so it looks further away.
I will now explain these 2 further using the following stock from GTA4 as an example

Using blurring
To create a sense of depth we will blur the buildings in the distance, this way the buildings will look further away and your eyes will be drawn towards the action. For this I used the blur tool (you can find it under the paint bucket).
Using the following settings I blurred everything in the distance, but pay attention that you don’t blur anything you still want to be shown, like here for example the heli.

After this select the sharpen tool and use it to sharpen the most interesting parts in the picture (here the guy and the heli), you can use the same settings as before, just decrease the master diameter if you need more precision.
Here is how the picture now looks, notice how you now automatically start looking at the focal points!

Using light to create a sense of depth
To further enhance our sense of depth (and to make our focal point stand out more) we will use the Burn Tool and the Dodge Tool. You can use O to open these tools.
Once again I used a soft round brush with exposure on 60%, change the brush size to a size that fits your picture. I first used 100px for the big open areas and later a smaller 20px to burn/dodge the edges.
Use the Burn Tool to make the things in the background darker, use the dodge tool to make the objects in the foreground brighter and stand out more.
Here was my final result.

And here is a gif that shows the difference between the original and modified picture!
