Now thats out of the way here we go
Step 1:
Open your image, and double click on the "background" name in your layers pallette. This will turn it into a layer.

Step 2 :
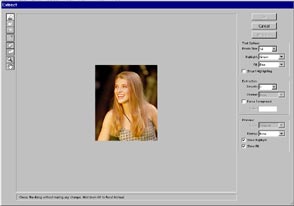
Open the extract tool: Image>Extract or Option/Alt+Cmd/Ctrl+X

Step 3:
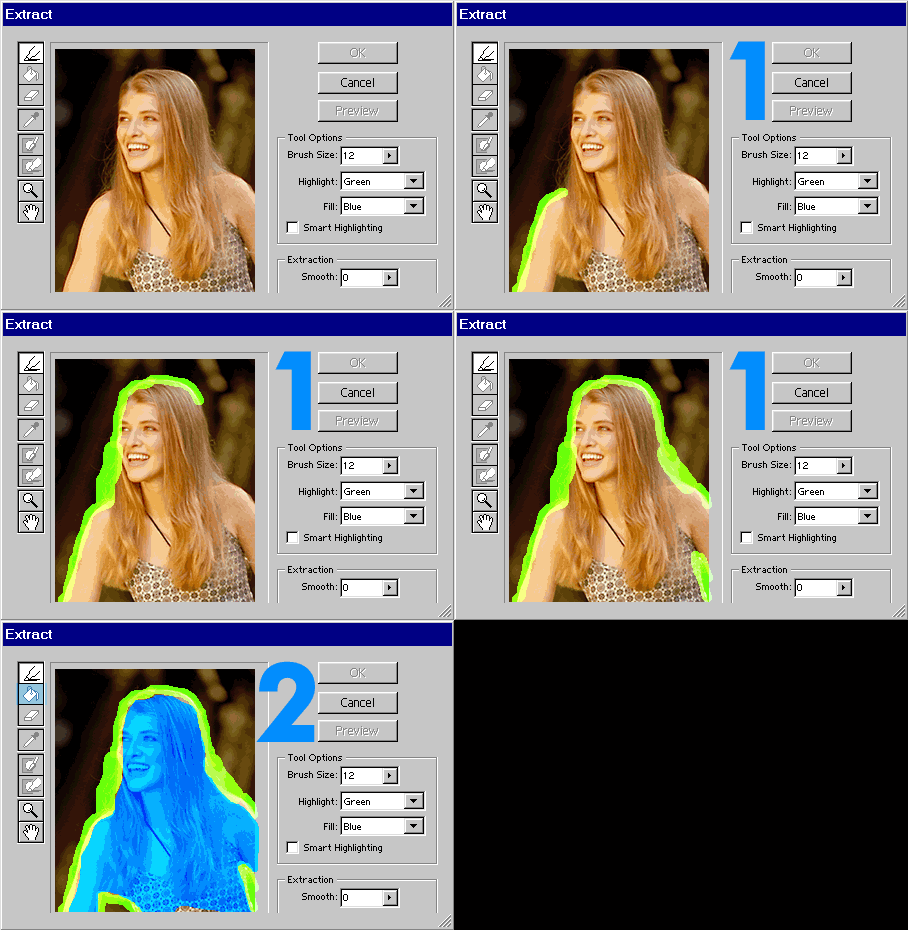
1. Take the marker tool and trace around the image you want to extract. Keep the marker 1/2 way on the image and 1/2 on the background. For solid areas use a small brush, for softer areas like the loose hair, use a larger brush. Tip: to adjust the brush size use the [ and ] keys.
2. Now take the bucket tool and fill the area you want to keep.Click OK.

Step 4:
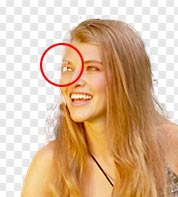
There will be a few areas that have been accidently deleted. You can clean up the image using the eraser and the history brush.

Step 5:
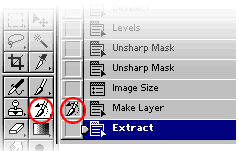
In the history pallette, click next to the image before the extract state. Select the history brush.

Step 6:
Select a small brush size and "paint" back the image.Now you can place the image onto any background you wish.

Random tutorial i had saved ^^^^ helpfull but sometimes doesnt work. so instead try this:
With your image selected, zoom in to a range of around 150-300% so you can clearly see the image to be cutout. Select the polygonal lasso tool and take your time to select points around the edges of your image.

For example, on a person take extra time around the face, ears, fingers, etc. When you get all the way around the image, connect the last point with the first point until the cutout is selected. This is where many people are left with jagged edges in their artwork.
Right-clicking will give you many different options and a "Layer via copy" will create a new Photoshop cutout layer with exactly what you cutout (often with a few rough corners.) Instead, an easy way to create a smooth photo cutout is by using the feathering technique.

Selecting the Feather option will bring up an option of how many pixels you want to feather - or blur - around your selection. How precise you want your photo cut out and the size of the image will determine how many pixels you want to choose, and experience will help you to know (remember you can undo any action quickly!).
After you feather, you can then use the "Layer via copy" action. If you are Photoshop beginner, try this technique and use a feathering of about 2-10 pixels and look at the result. Chances are it will be a smooth cutout that can be part of your new collage, illustration, or photo artwork.
Reply With Quote
Step 1:
Open your image, and double click on the "background" name in your layers pallette. This will turn it into a layer.

Step 2 :
Open the extract tool: Image>Extract or Option/Alt+Cmd/Ctrl+X

Step 3:
1. Take the marker tool and trace around the image you want to extract. Keep the marker 1/2 way on the image and 1/2 on the background. For solid areas use a small brush, for softer areas like the loose hair, use a larger brush. Tip: to adjust the brush size use the [ and ] keys.
2. Now take the bucket tool and fill the area you want to keep.Click OK.

Step 4:
There will be a few areas that have been accidently deleted. You can clean up the image using the eraser and the history brush.

Step 5:
In the history pallette, click next to the image before the extract state. Select the history brush.

Step 6:
Select a small brush size and "paint" back the image.Now you can place the image onto any background you wish.

Random tutorial i had saved ^^^^ helpfull but sometimes doesnt work. so instead try this:
With your image selected, zoom in to a range of around 150-300% so you can clearly see the image to be cutout. Select the polygonal lasso tool and take your time to select points around the edges of your image.

For example, on a person take extra time around the face, ears, fingers, etc. When you get all the way around the image, connect the last point with the first point until the cutout is selected. This is where many people are left with jagged edges in their artwork.
Right-clicking will give you many different options and a "Layer via copy" will create a new Photoshop cutout layer with exactly what you cutout (often with a few rough corners.) Instead, an easy way to create a smooth photo cutout is by using the feathering technique.

Selecting the Feather option will bring up an option of how many pixels you want to feather - or blur - around your selection. How precise you want your photo cut out and the size of the image will determine how many pixels you want to choose, and experience will help you to know (remember you can undo any action quickly!).
After you feather, you can then use the "Layer via copy" action. If you are Photoshop beginner, try this technique and use a feathering of about 2-10 pixels and look at the result. Chances are it will be a smooth cutout that can be part of your new collage, illustration, or photo artwork.
Reply With Quote


